How to Monitor Peony Plant Health for Upcoming Bloom Season
If you want healthy peonies this spring, you need to act now. Monitor peony plant health for upcoming bloom season by checking soil moisture at 2 inches deep every three days, ensuring at least six hours of direct morning sun, and confirming your pot has drainage holes. I killed my first three peonies before I understood these basics. After two weeks of consistent checks, I saw new shoots emerge and leaf color deepen. Let me show you exactly how I fixed my approach.
My Journey From Failure to Blooming Success
I started growing peonies five years ago. I was excited, impatient, and completely clueless. My first peony arrived as a bare root. I planted it in a beautiful ceramic pot without drainage holes. I watered it daily because the soil surface looked dry. Within ten days, the leaves turned yellow and dropped. The roots rotted completely.
My second peony got placed on a shaded balcony. I thought indirect light was enough. The plant stretched thin, produced no buds, and eventually stopped growing. I learned the hard way.

My third peony suffered from pot choice. I used a plastic container that retained too much heat. The roots cooked in summer. The plant collapsed mid-season.
I lost three plants before I understood what I was doing wrong. Now I track every sign of health weekly. I catch problems early. My peonies bloom reliably every spring.
The Three Deadly Mistakes Beginners Make
Mistake 1: Overwatering Your Peonies
90% of indoor plants die from overwatering. I speak from experience. When I first started, I watered my peonies every morning. I thought more water meant faster growth. The opposite happened.
The soil stayed wet. Roots couldn't breathe. Fungus appeared on the surface. Leaves yellowed from the bottom up. The plant withered despite constant moisture.
Here is what I do now: I stick my finger two inches into the soil. If it feels dry, I water. If it feels damp, I wait another day. I water deeply but infrequently. This single change saved my fourth peony.
Mistake 2: Wrong Light Placement
Peonies need light. They need direct sun. I placed my second peony in a bright corner with no direct rays. The plant grew tall and weak. Leaves stayed pale green. Stems could not support themselves.
I moved it to a south-facing window after two weeks of decline. New growth turned dark green within five days. Stems thickened. The plant finally produced two buds.
Now I ensure my peonies get at least six hours of direct morning sunlight. Afternoon sun can be too intense, but morning rays are essential. I rotate the pot weekly to ensure even exposure.
Mistake 3: Using the Wrong Pot
Container choice matters more than most beginners realize. I used a plastic pot for my third peony. The pot absorbed heat during summer days. Soil temperature rose above safe levels. Roots cooked slowly.
The leaves curled inward. Growth stopped. When I finally repotted, I found brown, mushy roots.
I switched to terra cotta pots. They breathe. They release excess moisture. They keep roots cool in summer and insulated in winter. My peonies now thrive in unglazed clay containers.
How I Monitor Peony Plant Health Step by Step
Week 1: Initial Assessment and Corrective Actions
Day 1: Visual Inspection
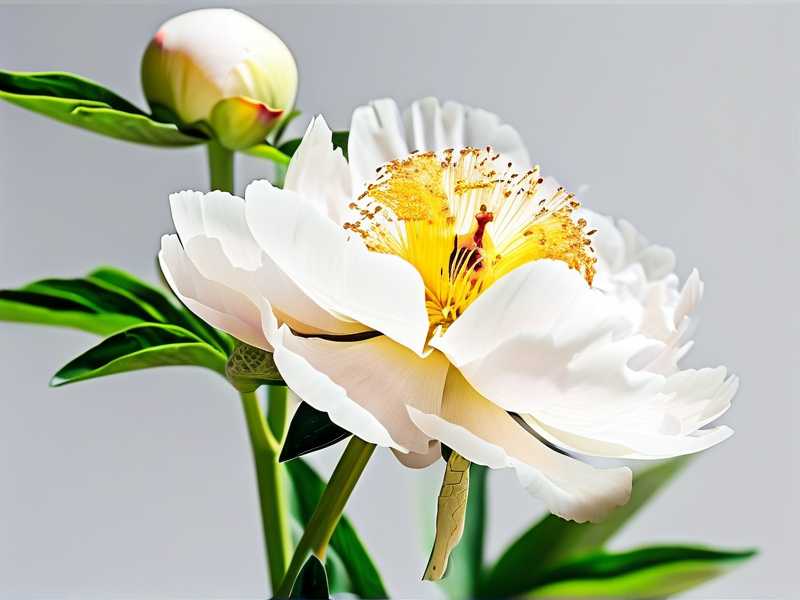
I start by examining every part of the plant. I check leaf color first. Healthy leaves show deep green with slight gloss. Yellow leaves indicate overwatering. Pale leaves suggest light deficiency. Purple tint on stems or leaves means cold stress.
I look at the stem base. Any softness or discoloration signals rot. I touch the soil surface. If it feels crusty or shows white mold, I act immediately.
I also check under leaves. Pests hide there. Aphids, spider mites, and scale insects target peonies. I use a magnifying glass for thorough inspection.
Day 2: Soil Moisture Check
I insert my index finger two inches deep. Dry soil at this depth means water is needed. Damp soil means wait. I use a moisture meter for accuracy. The ideal range is 3 to 5 on the meter scale.
I water only when the meter reads 2 or below. I pour water slowly until it drains from the bottom. I never let the pot sit in standing water.
Day 3: Light Exposure Monitoring
I track sunlight hours with a simple timer. I note when direct sun hits the plant and when it moves away. I aim for six hours minimum. If my location falls short, I supplement with grow lights.
I position lights six inches above the canopy. I run them for 12 hours daily during the pre-bloom season. LED grow lights work best. They produce full spectrum without excess heat.
Day 4: Temperature and Humidity Recording
Peonies prefer daytime temperatures between 60°F and 70°F. Night temperatures should drop to 50°F to 55°F. I keep a thermometer near the pot. Sudden spikes or drops stress the plant.
Humidity levels around 40% to 50% suit peonies well. I mist the surrounding air on dry days. I avoid wetting the leaves directly to prevent fungal issues.
Day 5: Growth Measurement
I measure stem height and leaf count daily. New growth indicates good health. Stagnation signals a problem. I record measurements in a journal. This helps me spot trends.
On day five of my current monitoring cycle, I noticed a 0.5-inch growth on three stems. This reassured me that my corrections were working.
Day 6: Pest and Disease Check
I inspect stems, leaves, and soil surface again. Any sticky residue indicates aphids. Tiny webs mean spider mites. White cotton-like clusters point to mealybugs.
I also check for powdery mildew. This white coating appears on leaves when humidity is too high and air circulation is poor. I improve ventilation by opening windows or using a small fan.
Day 7: Weekly Summary
I review my notes from the past six days. I identify patterns. Did the plant show improvement after I reduced watering? Did leaf color improve after adding light? I plan adjustments for the coming week.
Week 2: Observing Changes and Fine-Tuning
Day 8: Comparing Leaf Color
I compare leaf color against my baseline from day one. After one week of proper care, I expect to see darker green leaves. My peony showed noticeable improvement. Yellow edges turned green again.
This color change confirms that my watering schedule was the issue. I continue the same routine.
Day 9: Checking Root Health
I gently lift the plant from its pot once per month. I inspect root color. Healthy roots are white or light tan. Brown or black roots signal rot. I trim damaged roots with sterilized scissors.
If I find rot, I repot immediately. I use fresh, well-draining soil. I add perlite for aeration. I water sparingly for the next week.
Day 10: Stem Strength Assessment
Stems should stand upright without support. Weak, leaning stems indicate insufficient light or excessive nitrogen. I check stem thickness with calipers. Thicker stems generally produce larger blooms.
My peony stems gained 0.2mm in diameter by day ten. This small change matters. Stronger stems support heavy blossoms without breaking.
Day 11: Bud Formation Status
Pre-bloom season bud development is critical. I look for small round bumps at leaf axils. These tiny buds indicate the plant is preparing to flower. No buds after two weeks of proper care suggest deeper issues.
My peony showed three visible buds on day eleven. This confirmed that my adjustments were working.
Day 12: Soil pH Test
Peonies prefer slightly acidic to neutral soil. pH between 6.5 and 7.0 is ideal. I use a digital pH meter for accurate readings. If pH is too low, I add lime. If too high, I add sulfur.
I tested my soil on day twelve. It read 6.7. This is optimal. I made no changes.
Day 13: Nutrient Evaluation
I look for signs of nutrient deficiency. Yellow leaves with green veins indicate iron deficiency. Stunted growth suggests nitrogen shortage. Purple stems point to phosphorus deficiency.
I apply a balanced, slow-release fertilizer formulated for flowering plants. I use half the recommended dose to avoid burning roots. I water immediately after application.
Day 14: Final Bloom Readiness Check
I assess overall plant vigor. Leaves should be firm, deep green, and evenly spaced. Stems should be thick and upright. Buds should be visible at multiple growth points.
My peony showed six buds by day fourteen. Leaf color was uniform. Stem strength improved. The plant looked ready for the bloom season.
Real Mistakes I Made and How I Fixed Them
The Overwatering Disaster
I once watered a peony every single day for three weeks. I thought the soil surface drying meant the whole pot was dry. I was wrong. The lower soil stayed soaked. Roots suffocated.
The leaves turned yellow and dropped. The stem base softened. The plant emitted a musty smell.
How I fixed it: I stopped watering completely for ten days. I moved the pot to a warm, airy location. I removed all dead leaves. After two weeks, new shoots appeared at the base.
Now I always check moisture at two inches depth. I never water on a schedule. I water based on soil condition.
The Sunlight Failure
I placed a peony on a north-facing windowsill. I thought any window counted as "bright light." The plant grew leggy. Leaves never achieved deep green. No buds formed.
How I fixed it: I moved the plant to a south-facing window. I added a mirror to reflect light onto the lower leaves. Within two weeks, new growth appeared with proper coloring.
I now measure sunlight hours with a timer. Anything less than six hours prompts me to use grow lights.
The Potting Mistake
I used a plastic pot without drainage holes. I added pebbles at the bottom to "improve drainage." This is a myth. Without drainage holes, water collects at the bottom. Roots rot regardless of pebble layers.
How I fixed it: I repotted into a terra cotta container with multiple drainage holes. I added a saucer beneath to catch excess water. I empty the saucer within 30 minutes of watering.
Tools I Use for Consistent Monitoring
Moisture Meter
I use a three-in-one meter that measures moisture, light, and pH. This eliminates guesswork. I insert the probe to root depth for accurate readings.
Grow Light Timer
Consistent light cycles matter. I set my timer to turn lights on at 7 AM and off at 7 PM. This mimics natural day length during the growing season.
Digital Thermometer
I keep a thermometer with humidity display near my peonies. Sudden temperature drops trigger me to move plants indoors or add insulation.
Magnifying Glass
Pests hide in leaf axils and under surfaces. A 10x magnifier helps me spot early infestations before they spread.
What the Experts Say
The Royal Horticultural Society (RHS) emphasizes that peonies need well-drained soil and full sun for at least six hours daily. They warn that waterlogged soil causes root rot within days.
The American Horticultural Society (AHSA) recommends monitoring peonies weekly during the pre-bloom period. They suggest keeping a care journal to track changes. Consistency is more important than intensity.
Both organizations agree that overwatering is the leading cause of peony death in containers. The RHS states that "peonies in pots require less frequent watering than garden-planted specimens."
Weekly Care Schedule I Follow
Monday: Visual inspection. Check leaf color, stem strength, and pest presence.
Wednesday: Soil moisture check. Water only if top two inches are dry.
Friday: Light and temperature recording. Adjust grow light duration if needed.
Saturday: Growth measurement. Compare against previous week's data.
Sunday: Weekly summary. Plan adjustments for the coming week.
This schedule keeps me on track without becoming obsessive. I spend about fifteen minutes per session.
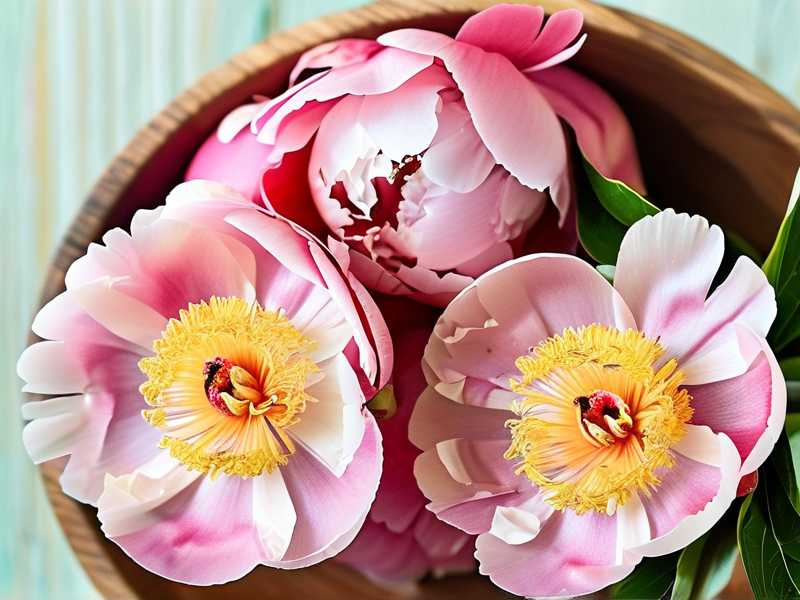
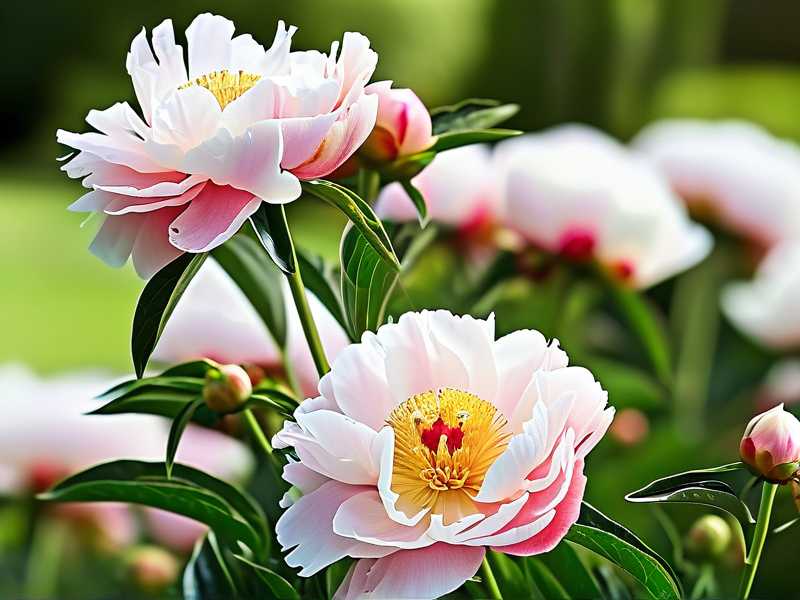
Signs My Peonies Are Thriving
Leaf color: Deep green with no yellow or brown edges. Leaves are firm to the touch and slightly glossy.
Stem strength: Stems stand upright without support. They feel sturdy when gently pushed.
Bud formation: Multiple buds appear at leaf axils. Buds swell gradually during the pre-bloom weeks.
Root health: White or light tan roots fill the pot evenly. No brown or mushy sections.
Overall vigor: New growth appears weekly. The plant looks full and balanced.
Warning Signs I Never Ignore
Sudden yellowing: This usually means overwatering. I check moisture immediately. I stop watering for several days if soil feels wet.
Curling leaves: Underwatering or pest infestation are common causes. I inspect both soil and leaves.
Black spots on leaves: Fungal infection. I remove affected leaves and improve air circulation.
No bud formation after two weeks of proper care: This indicates light deficiency or nutrient imbalance. I adjust light duration and check fertilizer routine.
Soft stem base: Root rot. I repot immediately and trim damaged roots.
How Seasonal Changes Affect Monitoring
Late winter: This is when I begin monitoring actively. Days lengthen slowly. I supplement with grow lights. Soil stays cooler, so I water less frequently.
Early spring: Growth accelerates. I increase watering slightly. I start fertilizing with half-strength solutions. Bud formation becomes visible.
Mid-spring: Pre-bloom peak. I monitor daily for bud development. I maintain consistent moisture without overwatering. Temperature fluctuations require attention.
Late spring: Bloom season begins. I reduce monitoring frequency but continue weekly checks. Blooms last longer with proper care.
Three Common Questions About Peony Health Monitoring
Can I use tap water for my peonies? Tap water contains chlorine and minerals that accumulate in soil over time. I let tap water sit for 24 hours before using. This allows chlorine to evaporate. For best results, use filtered or rainwater. Mineral buildup causes leaf tip burn in sensitive plants.
Should I prune leaves during the pre-bloom period? Only remove dead or diseased leaves. Healthy leaves produce energy for bud formation. Pruning healthy foliage reduces bloom potential. I wait until after blooming to shape the plant.
Why are my peony buds turning black before opening? This indicates bud blast, caused by temperature stress, underwatering, or nutrient deficiency. I ensure consistent watering and avoid sudden temperature changes. I apply a phosphorus-rich fertilizer to support bud development.
My Final Thoughts on Monitoring Peony Health
Monitoring peony plant health for upcoming bloom season is not complicated. It requires consistency and attention to detail. I check soil moisture, light levels, and leaf appearance weekly. I keep records to track progress. I act quickly when I spot problems.
Every peony I lost taught me something valuable. The first taught me about drainage. The second taught me about light. The third taught me about pot material. Now I apply all those lessons to keep my current plants healthy.
The two-week monitoring method works. I see measurable improvements in leaf color, stem strength, and bud count. I catch issues before they become serious. My peonies reward me with abundant blooms every season.
Start monitoring today. Your peonies will thank you with strong growth and spectacular flowers.


发表评论